MINIMAPS: A HOW TO
INTRO
Creating a Minimap for UT3 gametypes such as Warfare and Vechicle Capture the Flag is difficult, and not really explained solidly anywhere. Well until now!
CREATING THE TEXTURE
- Take a screenshot of your map from above, directly down. (Easiest way to do thi is to use top down view lit mode)
- Then open this in a image editing program. Epic use 1024x1024 for their minimaps although 512x512 will suffice easily. However after makign warfare maps because you can view the large minimap i suggest 1024x1024 for more detail.
- Then take your image, and make it greyscale/desaturate it what ever. I made mine greyscale then changed it to be a green colour. The reason to do this is generally with many colours in it makes the minimap slightly confusing, you can just tint them out to make it more pleasing.
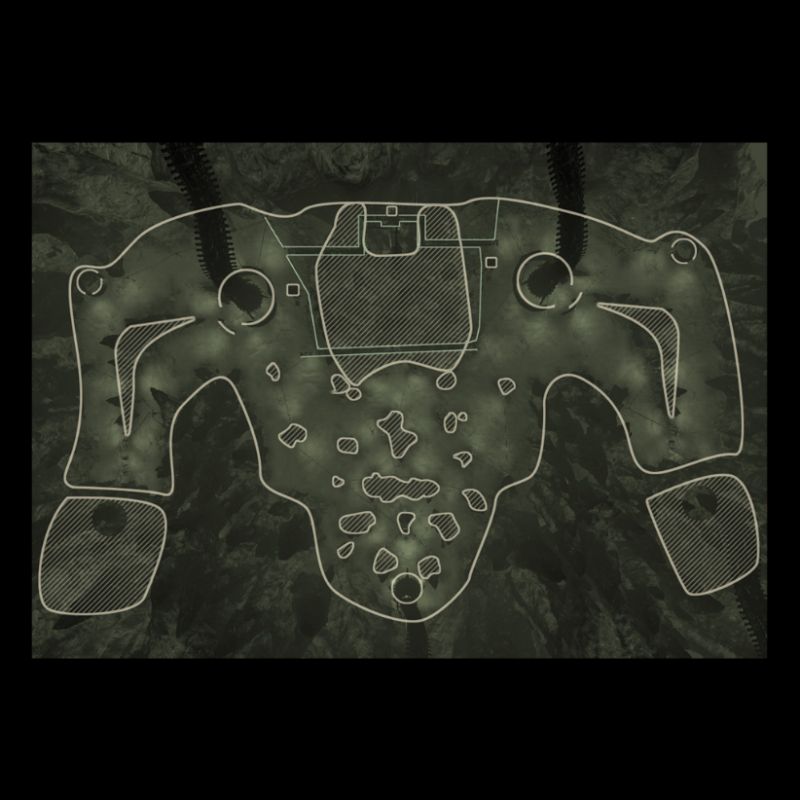
- Next thing is to draw around the large important bits on the map, objects etc.
- SAVE an editable copy! Chances of neeeding to modify it are quite high do not just save this as a flat image
- Also save a copy importable into UEd .tga or .bmp This is what mine looked like.

Import the minimap texture into your map package. Do NOT use a separate package for this.
- Start UnrealEd.
- Open your unpublished map file.
- Import the minimap texture into your map, specify Package(Use your map package, has the same name as your map).
- Set "CompressionNoAlpha" to True, set "CreateMaterial?" to True, set "Lighting Model" = MLM_Unlit, set "LODGroup" to TEXTUREGROUP_UI and set "RGB To Diffuse" to True.
- After the texture is loaded, right-click on it in the Generic Browser and choose Texture Viewer and set the NeverStream property to True.
- A new Material should be created in your map package. It will look like the default checkerboard texture in the Generic Browser.
- Double-click to edit the material, make sure the material is conencted up and click on the left green check button to Apply Changes. The material should now look totally black in the Generic Browser, because it is unlit.
- Apply the material to something in your map, that players won't see, a hidden surface, the back side of something, or create something and apply it to that. This step is important! If you do not apply it to a surface somewhere the game will remove it from your package.
- Save your map.
APPLYING THE MINIMAP
-View>World Properties
-World Info
-MyMapInfo (If this area is blank click the Blue arrow and add the correct property)
-Minimap
Select the texture NOT material. In the Generic Browser, and click the green arrow next to 'MapTexture' to apply it.
- Test it in-editor game.
FIXING
- It's missaligned, right? if you got it first time congratulations, but thats hard.
- There are a few properties to adjust slight problems:
MapCenter As far as i remember or know, no matter what you enter into these, nothing changes. Rendering it useless, although for safety reasons i like to put the rough centre of the map in anyway (this might only apply to zoomed minimaps, of which i haven't got working properly)
MapExtent can be used to scale the position of things on the minimap, but NOT the texture. ie increasing it changes the distance between flags or nodes.
Maptexture The texture used for the minimap.
MapTextureYaw to rotate your image by how ever many degrees you enter.
MapYaw is the same as above but only rotates the overlayed stuff (flags/nodes) and NOT the texture
RotatingMiniMapRange Not a clue what this does
If there is something that can't be fixed by rotating it, i.e if it's too far to the right or top of the screen, you will have to edit your texture in your image editing program because you can't reposition the texture in the editor unfortunatly.
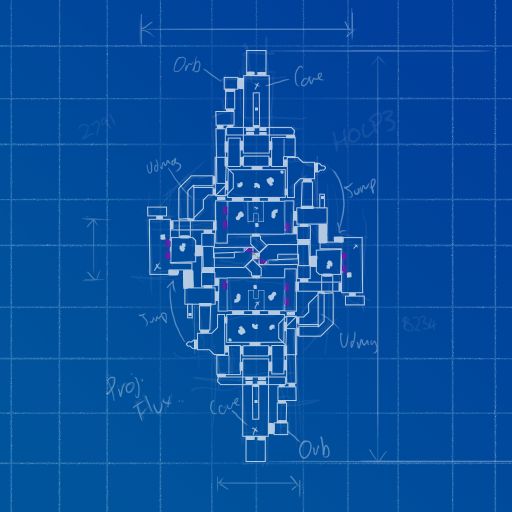
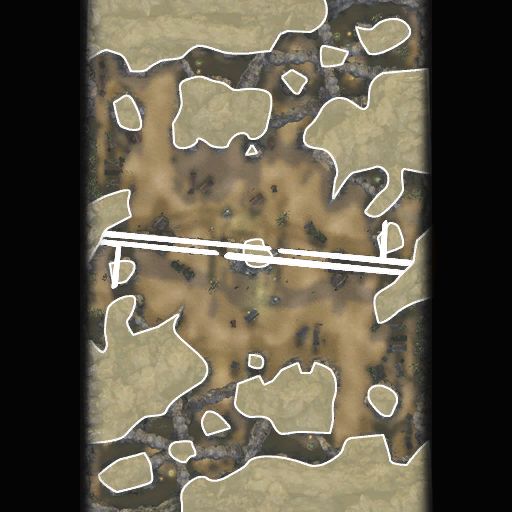
OTHER EXAMPLES
Back Home

